Although there are many XTOOL VAG401 update tutorials and blogs on the internet, some customers also don’t know how to update the software successfully. These issues appear such as the VAG401 white screen and cannot access to the corresponding files, etc. Check this post and find the solution.
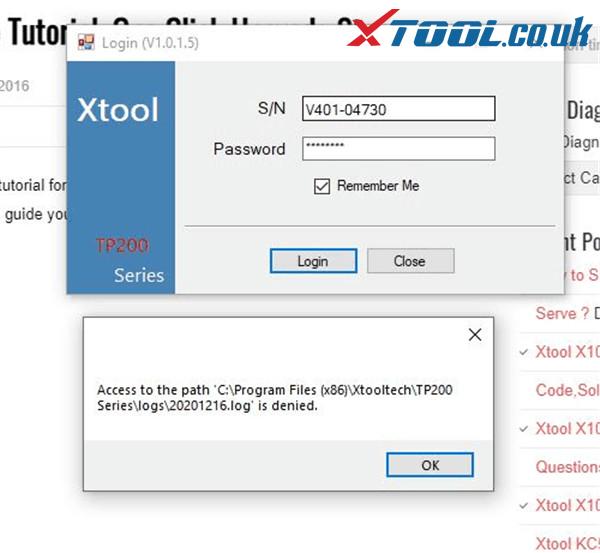
The possible cause for the issues above is that you use the incorrect XTOOL Upgrade Tool (e.g TP150/TP200).
The related solution:
1.The solution for XTOOL V401 white screen:
Step 1: Format the original TF (SD) card
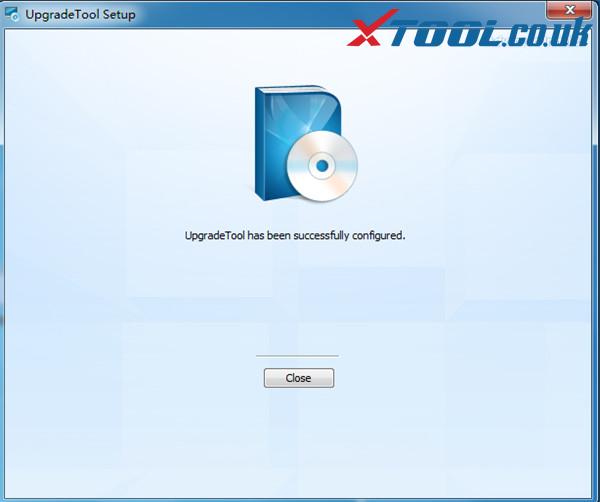
Step 2: Download XTOOL upgrade tool
Step 3: Install upgrade tool onto SD card again.
2.Guide to update XTOOL VAG401 correctly:
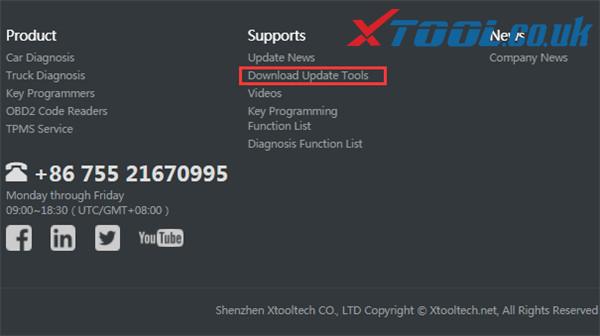
Step 1: Visit XTOOL official website: xtooltech.com-> click [Download Update Tools] at the bottom of the home page to download “XTOOL upgradetool v2.0.57” automatically and install manually
Step 2: Connect VAG401 and computer via the USB cable
Step 3: Scroll until you see the “About” Select Enter.
Find your serial number (username) and password to register XTOOL website.
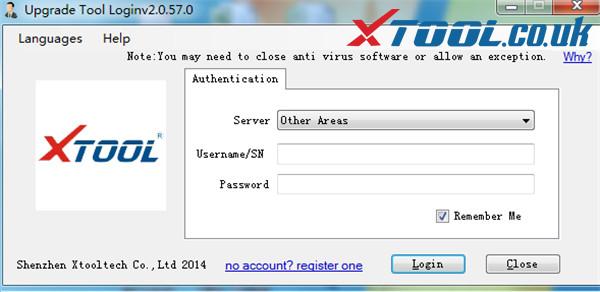
Note: Your username is your S/N, it is listed on this screen (Also can be found on the back of your device, it will start with and include VAG401-) and the password can be found on the bottom of this page, literally labeled “Password”.
Step 4: Take out the SD card from XTOOL VAG401
Insert the card in a USB card reader and plug reader to laptop
And then you will see XTOOL Upgrade Tool interface, and click “Upgrade” to update until the process is done!
Tech support: www.xtool.co.uk